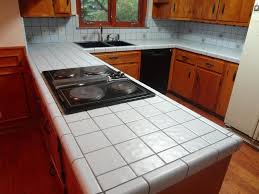
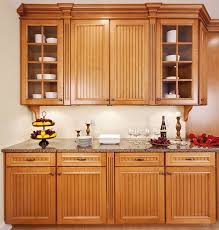
Commercial Work, Yes We Do!

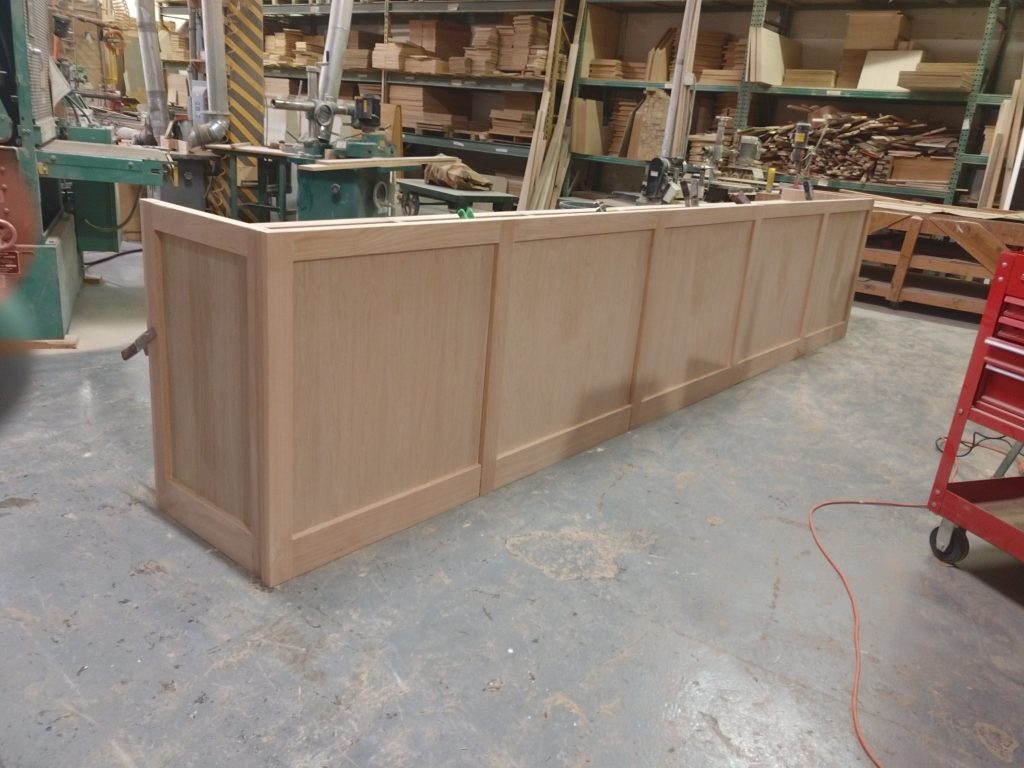
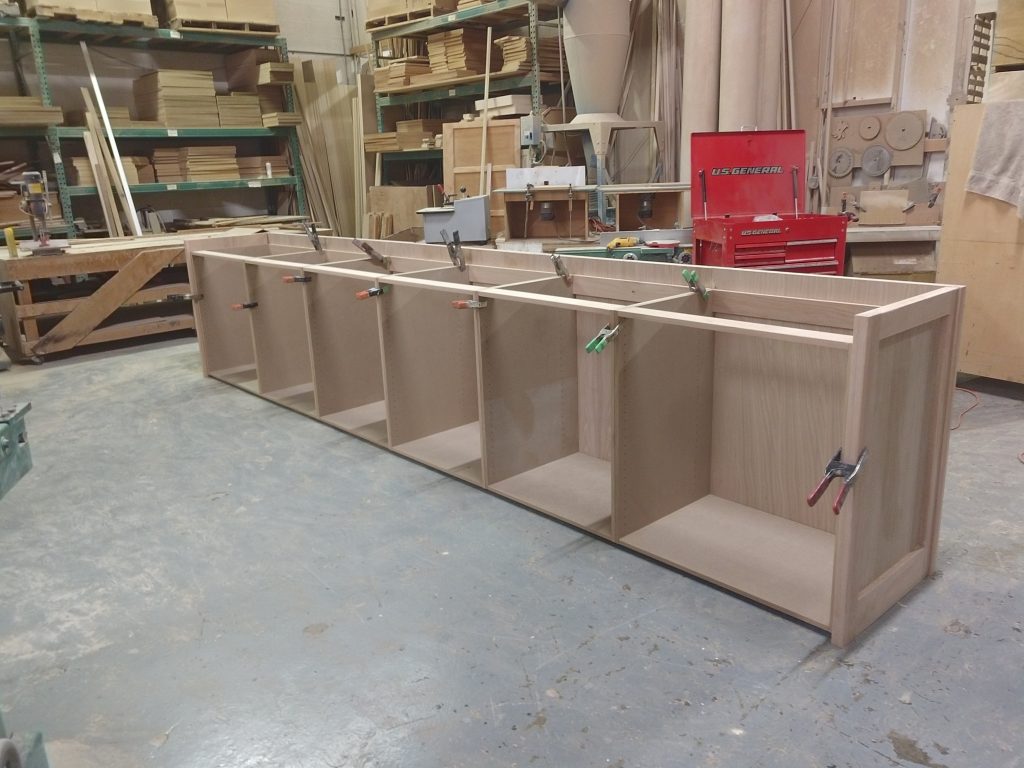
We do  a lot of Commercial work, some hass been done for fast food joints like Burger King, interior wall cladding , chair rails, and window sills, store fixtures, and sales counters. This week a store counter for a drywall supply company is being made. Unfinished store fixtures will run you $200.00 a foot and up. The basic no door, few drawers sales counter that is open in back with shelves will run around $100.00 per foot for the basic cabinets and if you put finished ends and front you are looking at starting around $15.00 per square foot for a red oak plywood end panel cased out with red oak board trim. A five part paneled back will run around the same. 

Most of the time the cabinets are made in sections, disassembled for finishing, reassembled for inspection prior to delivery, and disassembled again for transport and installation.


Learn more Here at this link

Commercial Work

  • Generally good quality but lower than retail standards.
  • Durability is important, lots of abuse from employees
  • Contractors generally won’t like working with us as we require deposits, harder for the contractors to cheat the subcontractors that way
  • The finish needs to be tough as nails and any countertop needs to be something like solid surface so you can re-polish the top  every year or two


Modular construction works well in case you remodel the store or change buildings, you have a fixture that can be transported on down the road. Usually the panels can be replaced too if you wanted to spruce up the store five or ten years later without losing the basic cabinets.

Finishing generally costs 25% of the price of the unfinished cabinets for stain grade work, 35% for paint grade work although paint grade cabinets are a little cheaper due to the paint grade materials used so it pretty much washes out on cost between paint and stain grade.


Cracked Mitered Doors

That Was a Stupid Idea….

There is always someone looking for a cheaper way to make things, and I said cheaper, not faster or better.   Cope and stick doors have been around for hundreds of years with the original joints being hand made with hand tools.

We got faster thanks to the industrial age, motors and shaped steel cutters that hogged out the profiles much faster than a molding plane pushed by hand.  But it is still time consuming to make a good joint. 


And tear out, the bane of woodworking, the splintering of the back side of a board when cutting, routing, or shapering as the cutter comes to the end of the board on the edge of the board.  Well, rails, the horizontal parts of a door, which are called the cope, are all edge grain so one edge usually splinters so you have the stick part that leaves a shaped perimeter around the inside edge of the perimeter of the door.

Ditto on the shaping of the edges of the doors.  the trailing edge chips so you have an angle door edge to remove that chip and you have to pass the door back through the shaper  on a large percentage of the doors to remove any end grain chipping.

Learn more Here at this link

Give me Your Checkbook Till We Leave the Store…

  • Mitered doors sure are purty…..
  • Picture frame joints
  • Very deep profiles that are impossible using normal methods
  • They will crack at the joints and open up either on the toe or the heel of the joint as the humidity changes


So someone, a machinery maker no doubt wanting to sell new machines to replace the perfectly good old machines in the cabinet shops, came up with the idea of mitered doors.   The rail and stile stock is all identical, cut at a 45% angle on miter machines that can do both cuts in one operation, with some sort of biscuit or loose tennon  inserted to make a glue joint.  Sometimes machined in place using CNC routers.

Then a minimum wage worker slaps some glue in the hole and clamps them up and shoots a pin nail in the joint and removes them to assemble the next door.

The problem is systemic, wood shrinks across the grain so anything you miter together will shrink and show a gap at the toe or the heel of the corner.  That cracks the paint, shows an ugly gap, and of course the shrinkage breaks the glue joint leaving it just a matter of time before the doors fall off the cabinets.


At best it is just the majority of the door joints cracked and looking shabby.  But hey, someone made some good money selling those doors to the homeowner and is it their fault the homeowner was uneducated?  I say it is the shop’s fault but if you already invested in the equipment you gotta make it pay off.  Cope and stick doors might crack on a few doors but they will not ever fall apart if property machined, properly glued, and clamped.


Tile Countertops

That Was a Stupid Idea….


I learned this one the hard way. Luckily it was my first “home”, a trailer house.  Even then it got ripped out a few months later.

“But they have used tile for decades in the older homes.”  Yup, with a 2″ thick concrete base, not glued on some plywood with mastic.

Tiles crack unless the base is thick and massive.  Add to that the chipping and grout cleaning, well tile countertops do not age gracefully

The edges fall off when bumped, they always look dirty and the grout flakes out plus you don’t want to think about the amount of bacteria hiding in that grout.

Learn more Here at this link

But it is Cheaper..

  • True, the first time you put it in
  • Not so cheap when you have to replace it
  • Yup, you can put hot pots on it, the one grace it has
  • Going to devalue your home when you go to sell


A tile top could be made for a few hundred in materials but if you hire the job done you will spend $500 at a minimum and more likely $1000.00.  That will make a good sized payment on a solid surface top that will last the life of the home or until you are sick of looking at the kitchen.  Or you can purchase a laminate top for that kind of money.

Tile on the backsplash works, up out of the way, no one cutting or pounding on it to break up the grout.  Away from most stain other than some spattered grease and oil, so seal several times a year. 

Glue surface areas are like  beams in engineering terms, half the depth or surface area, four times less holding power or strength.  Coupled with the angle of the annual rings and you can have some warped top rails that move so much that the elastic qualities of the glue fail and the glue joint fails.


Bead Board Doors

That was a stupid idea….

With any luck you were smart enough not to Google kitchen porn before you clicked on this category.  Gonna need to wash out those eyes if you did and clear your web browser history before grandma or one of the kids picks up your tablet or laptop.

Kitchen porn is that which is sexy and exciting but has no lasting qualities.  It is a bad idea personified, your nemesis that will lure you onto the rocky coast of kitchen remodel remorse.    You find it in national magazines and at the big box stores or through advertising that has a purpose of fleecing you of hard earned dollars while keeping the costs down on what they spend to do your remodel.  Money in their pockets is the goals and if you tire of the monstrosity, well they make money again replacing what they sold you.

Learn more Here at this link

Put Down the Beadboard Door Sample…

  • Sure is purty…..
  • Crevices fill with grease and dirt over time
  • Few sheets are true 1/4″ thickness or good two sides
  • Usually has fibers crushed during manufacture


Beadboard is interesting and lots of folks wander in asking about using it in the door panels.  The problem is that food, grease, lint, and fibers build up on the grooves over time.

The sheets are usually made with a soft tropical hardwood as the core and ran through grooving machines using roller dies to smash the wood fibers into the bead shape.  This leaves a jagged edge that catches fibers out of any cloth used to clean it and the sheets are not true 1/4″ most of the time so there are gaps around the perimeter of the door panel to store more gunk.

And no, you can’t pile on enough clear coat or paint.  The coating will flow right around the sharp points and surface tension will cause it to not fill the defects.


Five Part Drawer Fronts

That was a stupid idea…..

Five part drawer fronts, no, no, no, and no.

The narrow drawer fronts on the cabinet set to the left are five part fronts. Why are they named that?  Two stiles, two rails, and a center panel.  Five parts.  Just little doors actually, made the same way.

They are not good for several reasons.  First, that tiny little strip of material in the middle, the worst place to put a pull by the way, means the rails (horizontal parts) have to be less than 2.625″ wide, a standard quality rail/stile width.

Narrow boards tend to warp much easier due to the less width of the part.  Fewer annual rings in the part and there is a magic number on width, too many annual rings and you have cupping of the lumber.  Too few and all the annual rings are of the same angle and the part turns trapezoid shape across the width as it ages.

Learn more Here at this link

Betcha they will warp and the joints will crack..

  • Standard drawer front is 6.1875″
  • Minus 2.625 x 2,  means 5.25″ of rails
  • Center panel only 7/8″ wide
  • Looks stupid Forrest. Just saying….


So, “cabinetmakers” try using narrower rails, 1.5″ instead of the normal 2.625″.  About 1/2″ of each rail is grooved away, leaving a normal width “cheek” on the end of the rail at 2.125″ x .5″ surface area.  That is what is glued to hold the drawer front or door together.

Taking that rail width down to 1.5″ means 1″ x .5″ of surface area to be glued.  That is half the surface area of a properly sized rail. 

Glue surface areas are like  beams in engineering terms, half the depth or surface area, four times less holding power or strength.  Coupled with the angle of the annual rings and you can have some warped top rails that move so much that the elastic qualities of the glue fail and the glue joint fails.

But they sure are pretty in the magazines and in the showroom.